RcppSimpleITK: From discrete displacment fields to image transforms
22 Apr 2016As can be seen from my earlier posts, I dug into discrete displacement fields and interpolation approaches. The next step was to transform the discrete displacement fields from mesh registration into voxels and save them as images to allow creating displacement models for image registration with statismo. For creating regular displacement grids, I introduced the new function mesheR::displacementField2Grid. To create valid images, I played around with the R-wrappers of SimpleITK, however, due to the slow for-loops in R this was a bit cumbersome. To overcome this issue, I patched the R-wrappers of SimpleITK (follwing the instructions of @blowekamp) for obtaining direct access to SimpleITK’s C++ interface from R (using once again the magic of Rcpp). Therefore, I created a new package RcppSimpleITK, that is sporting the function displacementGrid2Transform that creates a vector image from a regular displacement grid.
Enough talk, here is an example using the meshes registered here, assuming we want to transfrom a image corresponding to the reference shape according to the discrete deformation field created from the mesh registration result.
require(mesheR);require(RcppSimpleITK);require(RvktStatismo);require(SimpleITK)
## first we align the shapes rigidly to the reference
align <- meshalign(list(ref,matchGP),)
## now we get the discrete displacement field TO THE REFERENCE (as we will be deforming images)
dispfield <- createDisplacementField(align[[2]],ref)
## interpolate it for a regular grid of 2mm spacing using a thin-plate spline interpolation
dgrid <- displacementField2Grid(dispfield,spacing = rep(2,3),invert = F,type="t")
## convert it into a SimpleITK image and write it to disk
dispimg <- RcppSimpleITK:::displacementGrid2Transform(dgrid0)
WriteImage(dispimg,"dispimg.nii.gz")

## to have a reference image, we create a binary image from the reference
## and write the aligned target to a ply file
vtkMesh2Image(ref,spacing=rep(1,3),filename="ref.nii.gz")
Rvcg::vcgPlyWrite(align[[2]],"taralign")
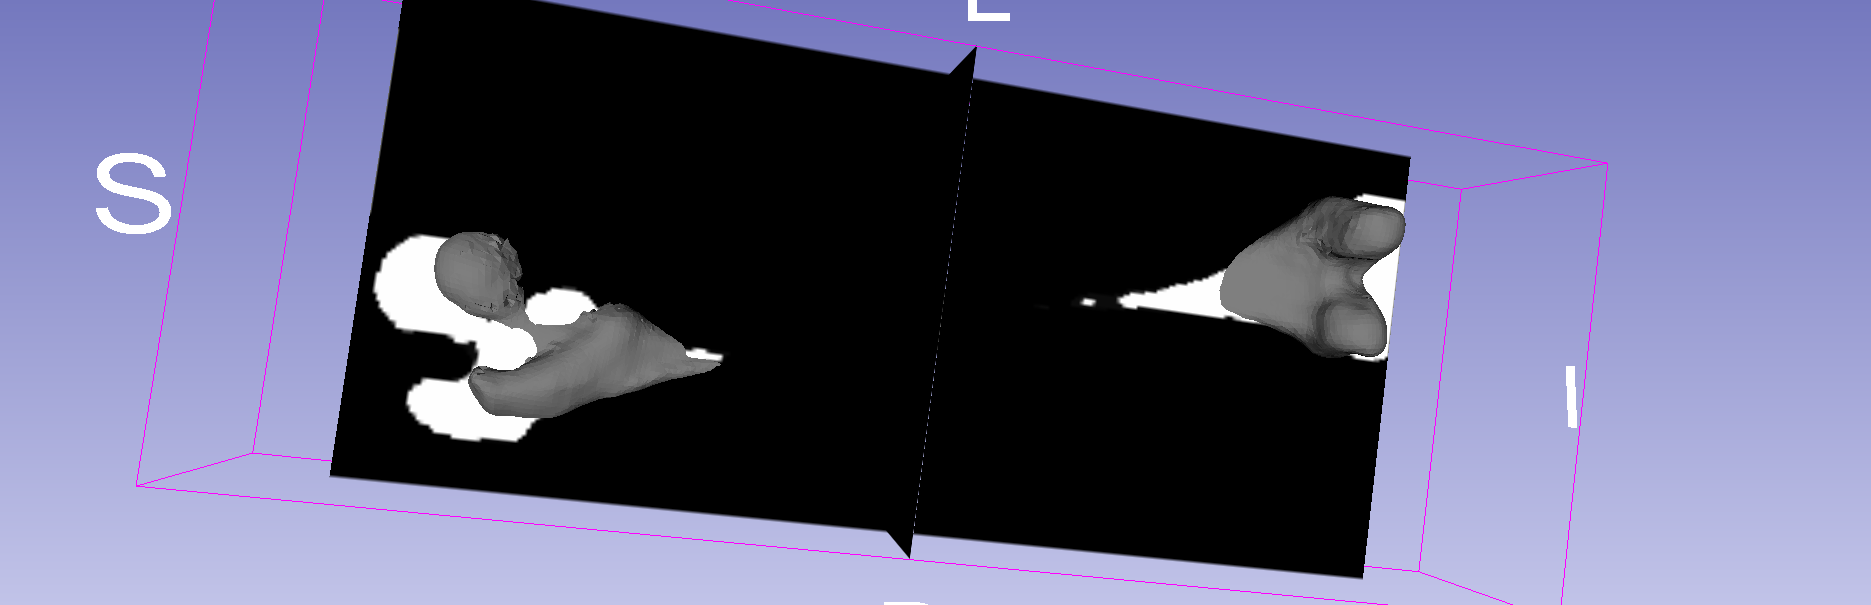
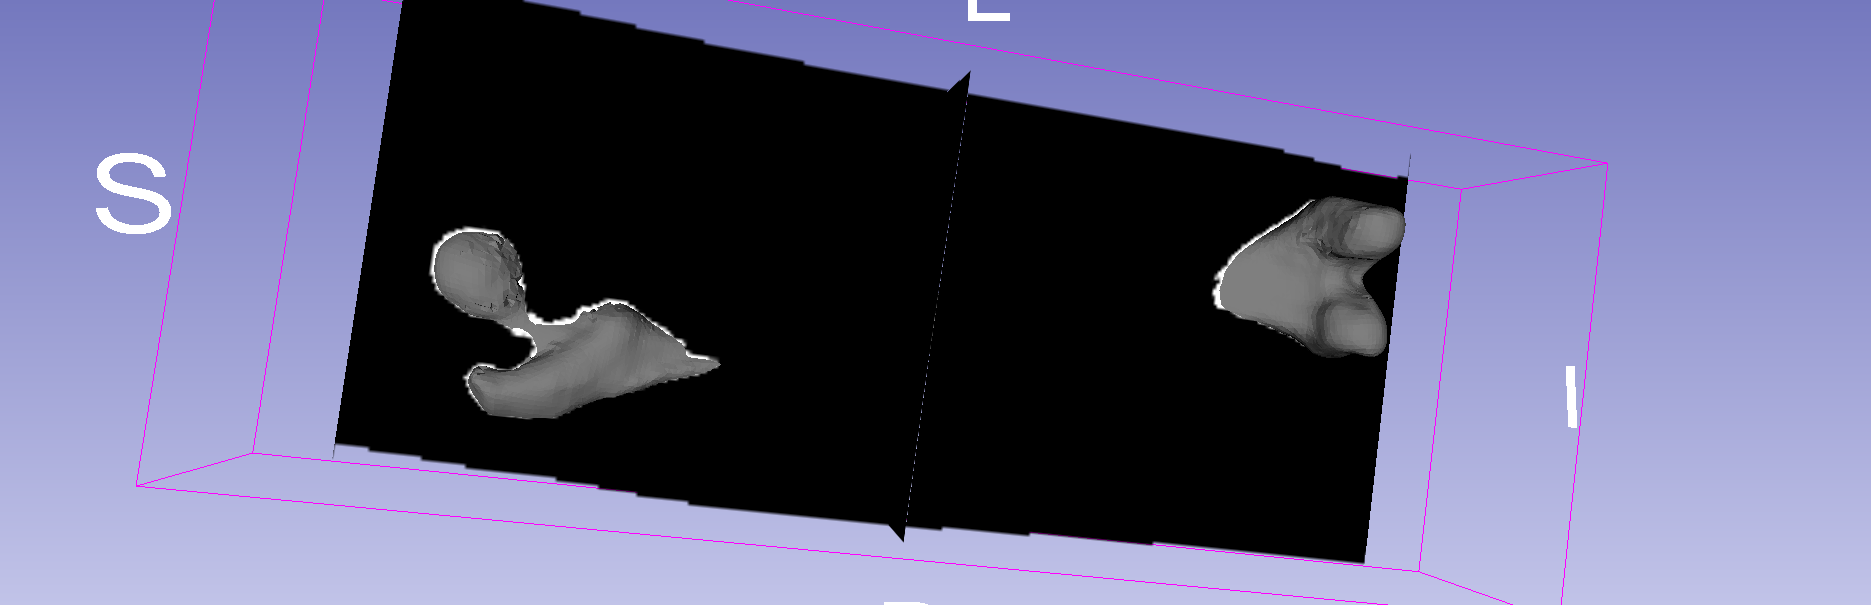
For better visualization, we can now load all into slicer and apply the transform (you could also apply it using SimpleITK or ANTsR). See Fig. 1 and Fig. 2: